
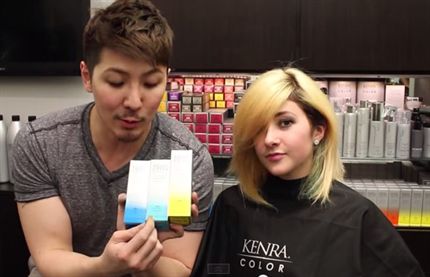
Guy Tang’s Purple to Green
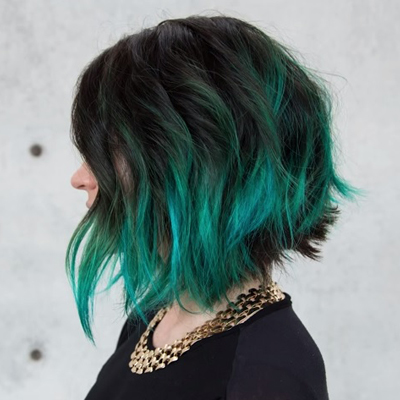

From hot mess to simply sizzling! Guy Tang had a massive color correction on his hands when fellow stylist, Judy, came to him with severely damaged hair. “Her hair has a lot of drama, you can see the natural regrowth and bands of color,” notes Guy. So he enlisted the help of Kenra Professional Color® Creative shades to help him give Judy a gem-toned, metallic-satin shade, a la Kylie Jenner circa 2014.
“Part of a color correction is that you have to be patient,” Guy reveals. “There is no rushing through, trying to get done as quickly as possible. Color corrections can take anywhere from 4 to 5 hours, sometimes even 9 hours. It can also take a day or several.”
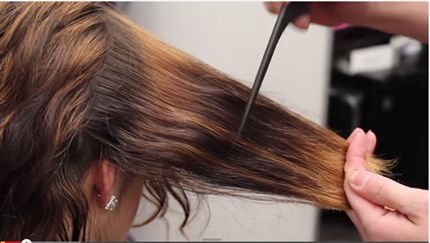
Natural/Starting Level
Judy had 1½-inch regrowth plus old bands of color. She was previously a 2NN, darkest brown, if not black. She already performed a color remover three times, but it didn’t remove the Level 2 dark brown/black, so Guy chose to go in with lightener.
Application
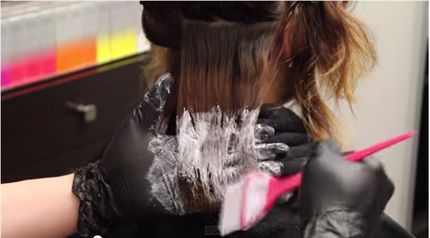
1. Using your hands, sweep Formula A in a vertical position so there is no line. Apply the color over the dark areas of the hair, going section by section. You want the hair with the lightener to turn a slight orange color. “I used 40-volume because I needed the strength to pull out the dark color,” notes Guy.
2. As you move up the head, pull the hair vertically so you can see the top of her hair better. Pull the hair away from her face, so lightener doesn’t sit on her skin. Apply Formula A all over those dark spots, then cover the hair with Saran Wrap to avoid drying out the color.
3. Process for 20 to 30 minutes. Once the color has pulled to an orange shade, go back in and apply Formula A throughout the remainder of the hair. “This color only took 25 minutes to get rid of all the black,” Guy says.
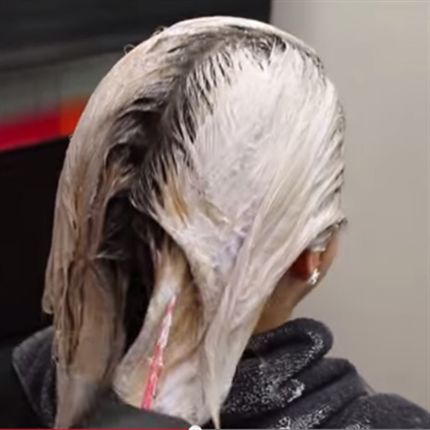
4. Next, bring Formula A up the hair a bit, blurring it into the roots but avoiding the scalp. If you apply to the scalp at this stage, you will end up with hot roots. Go all around her head, allowing the lightener to process until it matches.
5. Once everything lifts evenly, apply Formula A to the regrowth. If the area that was previously black is still pulling slightly warm, go back and hit that with Formula A. Rinse and dry the hair.
6. “I’m all about building the house before you paint it,” says Guy. Therefore, he built the foundation of his client’s hair by texturizing the ends to build movement. He also trimmed her ends since her hair had been compromised, especially through this color correction. “Cutting the hair after you prelighten gives you a great foundation to do a test strand for a fun color.”
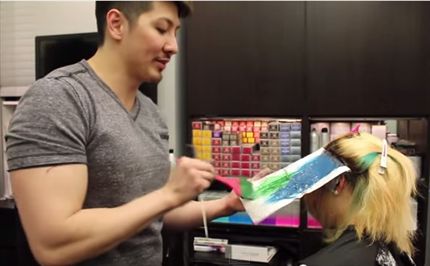
7. Using a diagonal back foil placement, apply Formula B to the roots. Then, apply Formula C from the midlengths to the ends, melting the two formulas together. Place a foil overlay so the colors don’t mix together.
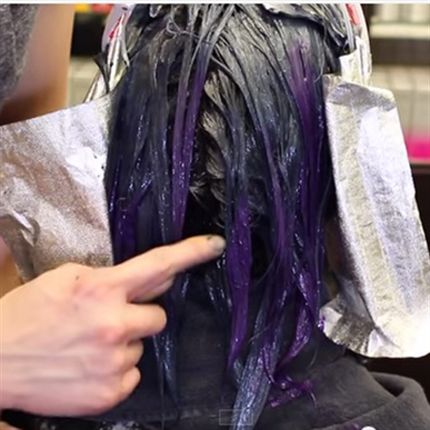
8. Continue working around the head placing your foils. For the base color, Apply Formula D, smudging into Formula E.
9. Only apply Formula D around the face framing area, as you don’t want too much color around the face. Rinse, shampoo, dry the hair and style as desired.
Watch the full transformation below!
More from
Guy Tang
-
Industry Events
OLAPLEX Announces New Brand Ambassadors
-
Balayage
The Biggest Hair Color Trends Of Winter 2021
-
Celebrity
Cardi B & Megan Thee Stallion’s “WAP” Music Video—Behind The Hair & Beauty Looks!
-
Coronavirus
Henkel Is Hosting Hairdressers United, A 24-Hour Hair Broadcast For Salon Pros
-
Balayage
7 Diagrams That’ll Take Your Blonding Game To The Next Level In 2020
-
Blonde
How To Foil Highlights 3 Ways
-
Balayage
Rich Crimson Red
-
Best of 2018
These Pink Formulas Defined #haircolorgoals In 2018
-
Hair Color
3 More Intoxicating Wine Formulas By @Guy_Tang
-
Hair Color
Guy Tang’s Cherry Curls
-
Hair Color
Guy Tang’s Bold Red
-
Hair Color
Guy Tang’s Deep Cranberry
-
Hair Color
Rooty Metallic Mauve
-
Blonde
Cool-Toned Blonde
-
Hair Color
3 Intoxicating Red “Wine” Formulas for Fall by @guy_tang
-
Hair Color
Rich, Copper Red
-
Hair Color
Dark, Fiery Red
-
Hair Color
Power Red
-
Blonde
Shadow Root + Rose Blush by Guy Tang
-
Blonde
9 Color Tips We Discovered At America’s Beauty Show 2017
-
Celebrity
The 14 Best Celebrity Hair Transformations of 2016
-
Hair
Don’t Miss These 4 #btcQUICKIES!
-
Cover Stories
Guy Tang’s Surprising Confessions: Hair, Health and Social Media

