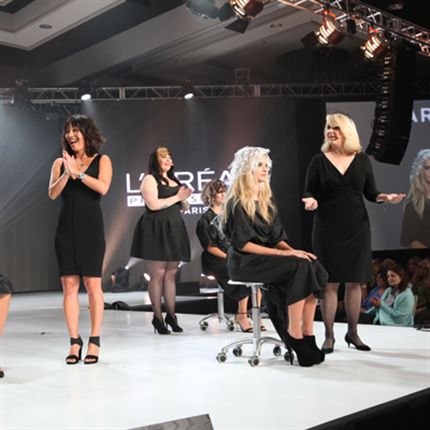
Sun-Kissed Bronde Balayage with Nancy Braun

If your client wants low-commitment, beach-ready color, then balayage powerhouse and L’Oréal Professionnel Artist Nancy Braun has got you covered with a quickie on this popular service. Here’s how it’s done!
How-To: Bronde Balayage
Before getting started, always take your clients’ layers into consideration. “It’s really important that you notice the layering in the hair,” says Nancy. “A lot of times I’ll see someone surface balayage, but they’ll leave the ends dark. We have to go in and create balance and harmony as if the sun hits everything and creates lightness to it.”
To start, section off your hair by layers, starting with the base layer and clipping the rest up at the parietal.
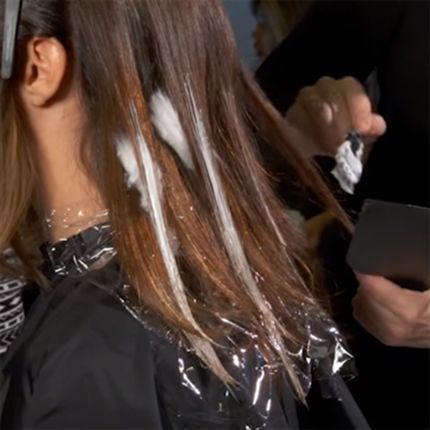
1. To begin, put a little lightener on your planchette (Nancy used L’Oréal Professionnel Freehand Lights + 40-volume developer). Then, pick up some hair from the parietal, and paint your lightener on the surface of the hair from midlengths to ends. Protect each section with cotton if necessary.
Balay-Beginner’s Tip: While you’re painting with your dominant hand, keep a piece of cotton in your other hand in case you need it!
Pro Tip: Always make sure your planchette has a decent amount of lightener on it, so you can fully saturate the hair. If the lightener is too dry, it won’t lift the hair the way you want.
2. Continue this sporadically across the layer you are working on (Nancy does 3-5 sections), and then place plastic wrap over the lightened hair to protect it from the next layer of lightener.
Pro Tip: Don’t use a heavy hand when placing plastic wrap against the lightener, because once it sticks even a little, it will stay firmly in place.
When it comes to balayage, it’s all about looking sun-kissed with a natural play of light: “Every woman is trying to duplicate what she had as a little girl running around in the sun,” says Nancy.
3. Release your next layer from the clip at the parietal, and continue steps 2 and 3 on this section, eyeing where you’d like your placement. Continue until you finish your layers.
Pro Tip: You want to make some pieces a little skinnier? You want to put a little more on certain ends? Nancy says go for it! Variety is the name of the game. “There’s no right or wrong way to do it, other than keeping balance in the hair!” she says.
4. Lastly, focus on the hair falling around the face. “We went around the face, framing the face, giving her a little bit of what we refer to as the ‘money piece,’” says Nancy. “It gives her those beautiful, caramel-gold highlights.”
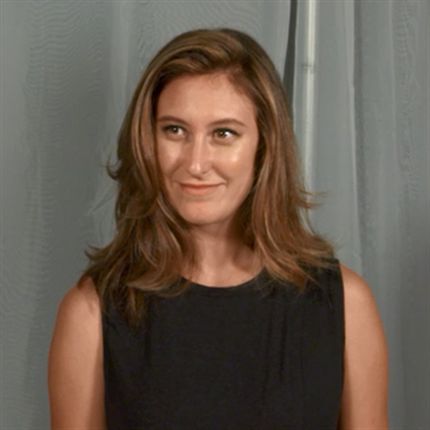
Gorgeous!
Business Tip
This add-on is perfect for your low-maintenance clients. “It’s going to look like your client has been at the beach for three weeks—it’s just going to oxidize beautifully,” says Nancy. “They’re going to have these nice, sun-kissed pieces but no major obligation to come back.”
But wait… don’t you want them to come back? Nancy doesn’t see it that way. “The good thing about low-maintenance clients is that they open up your schedule for more new business. You don’t get bored doing the same old thing over and over again.”
See how it’s done!