
Multi-Graduation

Advertisement
Advertisement
Advertisement
Advertisement
Advertisement
Advertisement
Advertisement
Multi-Graduation
HOW-TO STEPS 
-
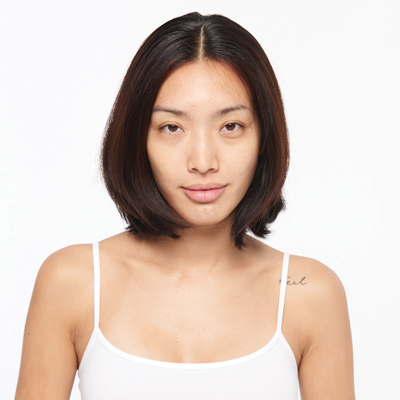 1
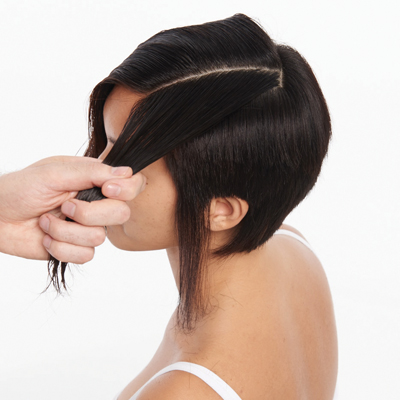
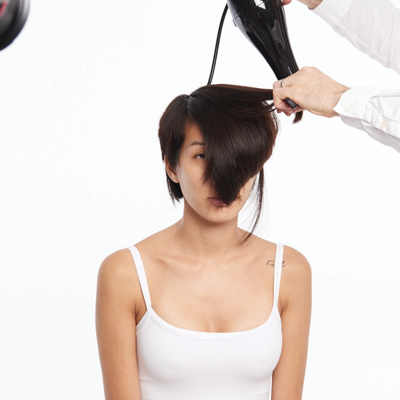
1Before
-
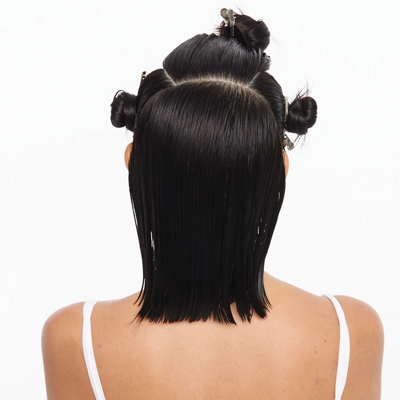 2
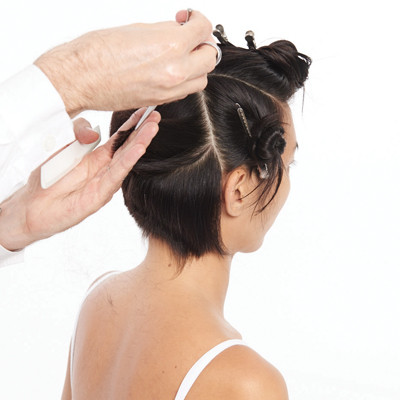
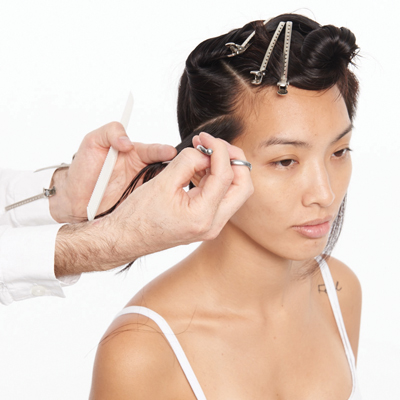
2Part the hair on both sides from the crown to the back of the ears. Next, create a rectangular disconnected section on the top area by taking a parting on both sides (from the recession area) running into the previous partings. Sections may vary depending on the individual hair type and texture.
-
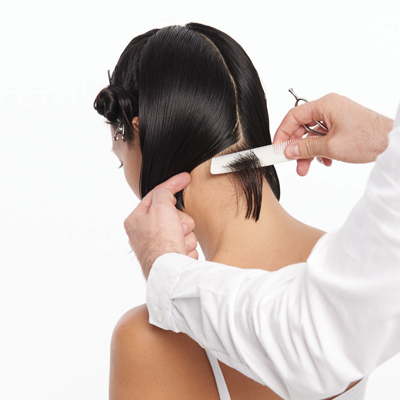 3
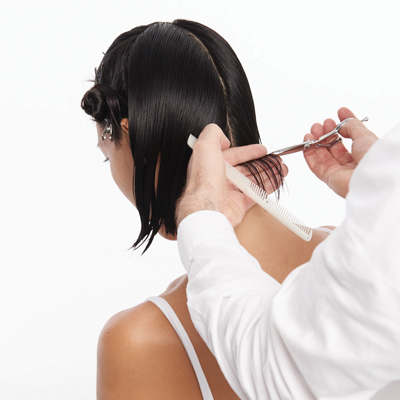
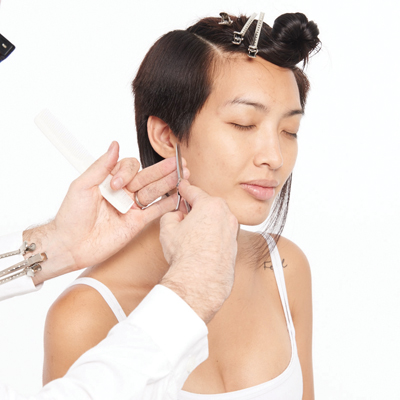
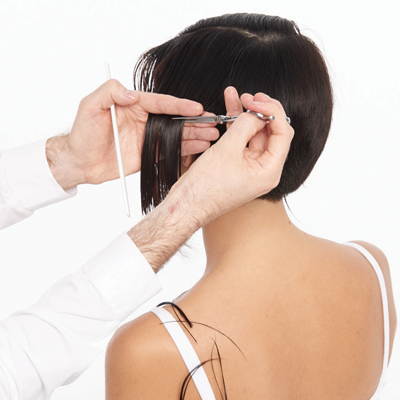
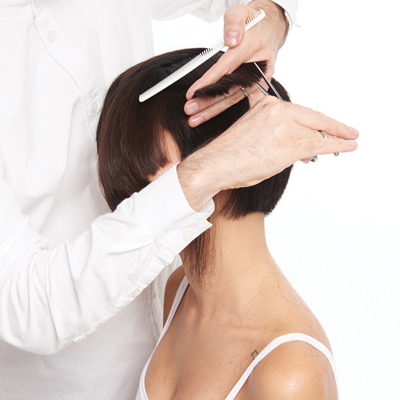
3Part the hair from crown to nape, then take out a fine, horizontal square section from the parting.
-
 4
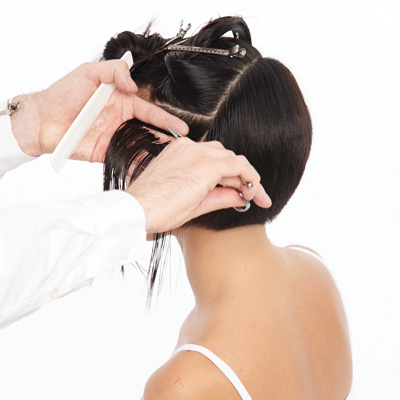
4Elevate the hair directly out from the head and cut a horizontal guideline tight to the nape. Note: The first section will determine eventual height of the graduation in the back area. These lengths may vary depending on individual hair type and texture.
-
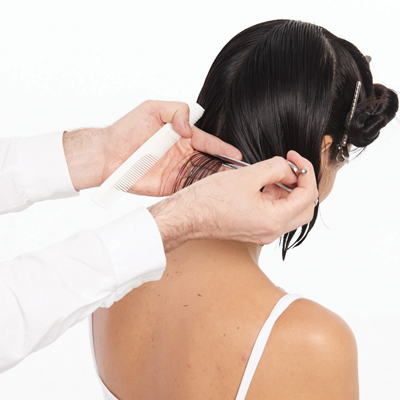
 5
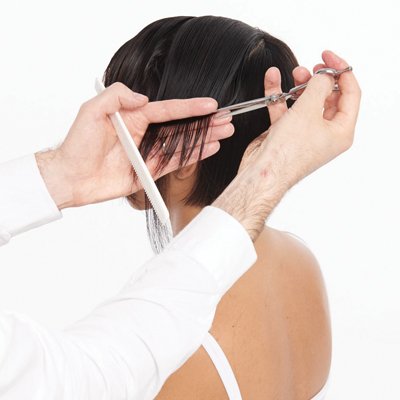
5Repeat the same process on the opposite side. Tip: Cut both the left and right side simultaneously as you work up the head to ensure a good balance.
-
 6
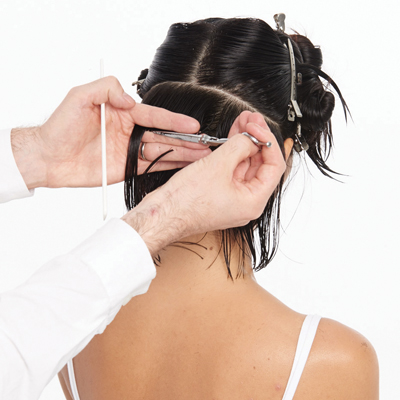
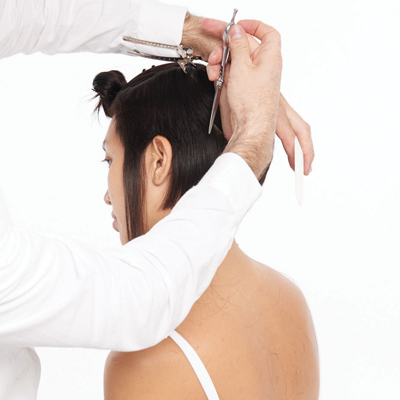
6Keeping even tension, continue taking subsequent sections as you graduate and work up the back of the head toward the crown. Focus particularly on the square shape being created, plus retaining the weight behind the ears. Note: The individual head shape determines the amount of elevation used in the graduation to create the amount of required weight.
-
 7
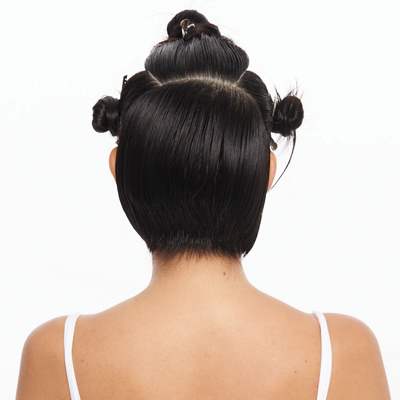
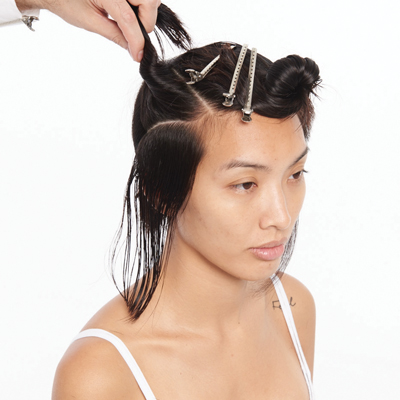
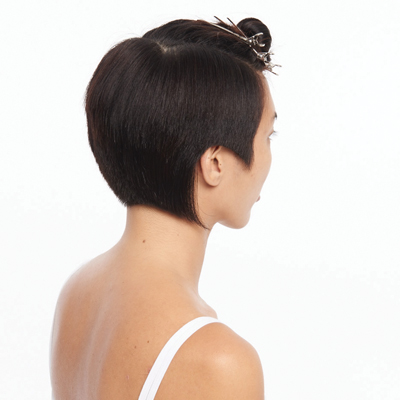
7View of the finished back section before refining.
-
 8
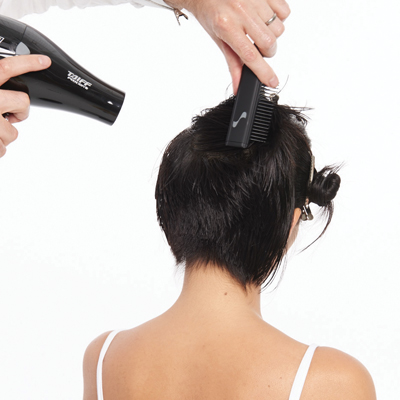
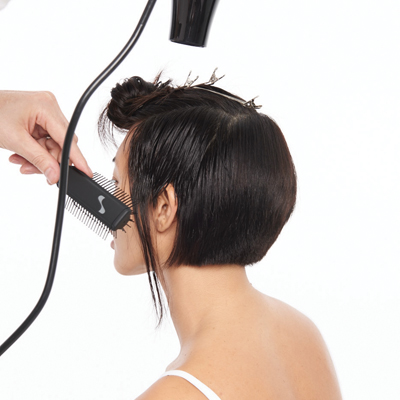
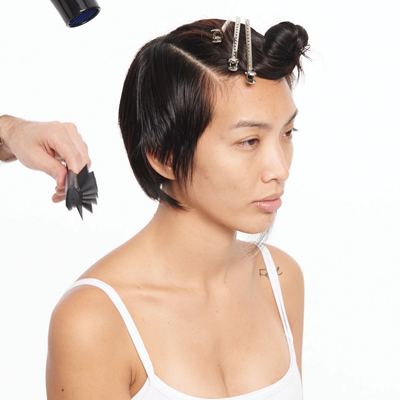
8Blow-dry the back section.
-
 9
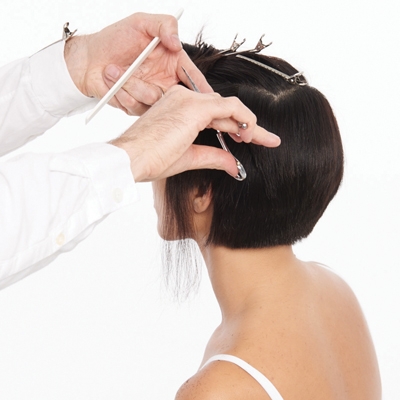
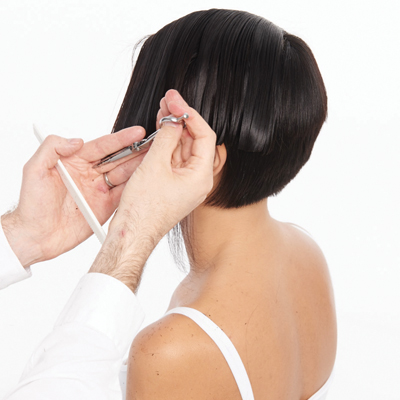
9Refine the shape by working across the back section using a round graduated technique to remove the corner at the top of the previously graduated back area. Note: Remain focused on retaining the weight behind the ear.
-
 10
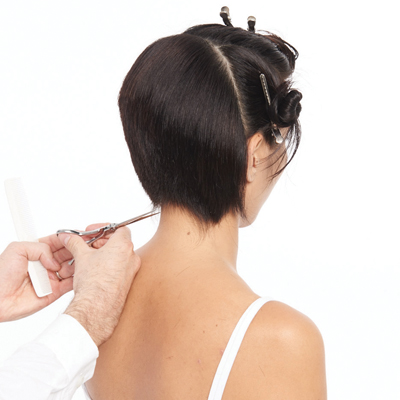
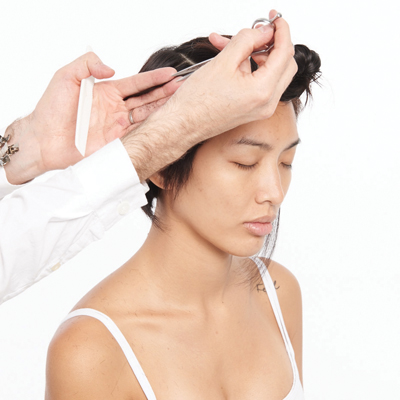
10Using the point of the scissors, cut an arched line from the center back outward and repeat on the second side. Note: Cut the outline freehand using no tension, following the natural hairline where possible.
-
 11
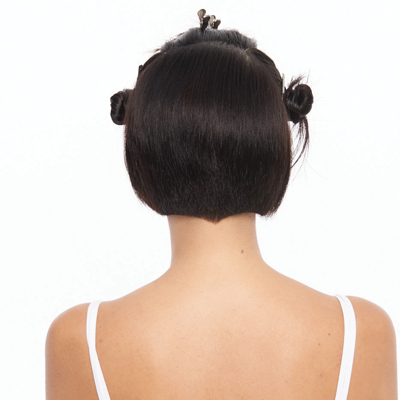
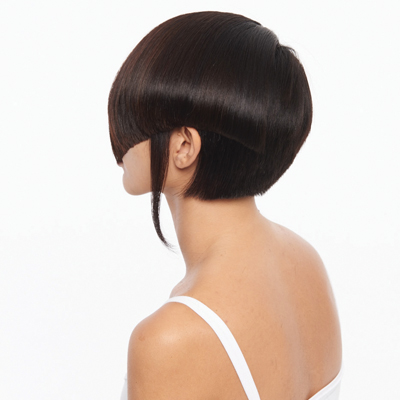
11View of the completed back section.
-
 12
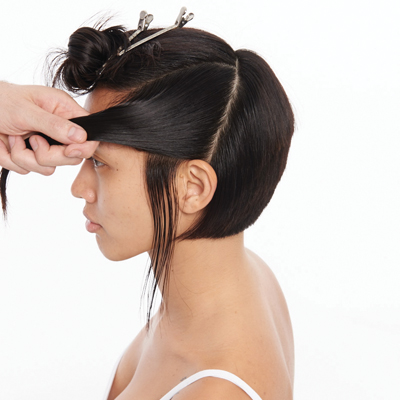
12Take a small diagonal section at the bottom of the left side and section out the lock of hair; this is a key feature of the look.
-
 13
13Taking horizontal-diagonal sections from right to left toward the hairline, cut a graduated section and work up toward the top overdirecting each section to the previous. Note: Keep the cutting line parallel to the section.
-
 14
14Blow-dry the side section.
-
 15
15Refine the section by removing the corner at the top of the graduated area. Using the point of the scissors, refine the hairline and the area around the ear.
-
 16
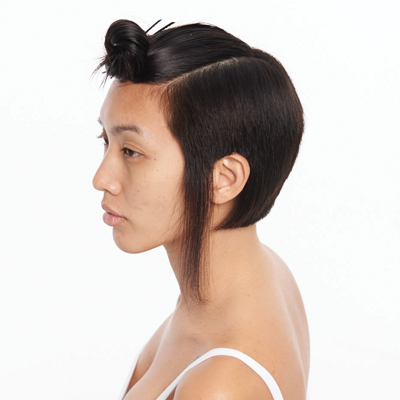
16View of the completed first side.
-
 17
17On the opposite side, take diagonal sections and cut a round graduated shape from the front toward the back, angling your fingers tighter toward the back of the ear to retain length in the front hairline. Note: Do not connect with the back section of weight behind the ear.
-
 18
18Continue with subsequent sections working toward the top of the side, bringing each section to the previous.
-
 19
19Blow-dry the side section.
-
 20
20Refine the section by removing the corner of the graduation.
-
 21
21Use the point of the scissors, refine the area around the ear.
-
 22
22Combing hair slightly forward, carefully refine the hairline with the point of the scissors.
-
 23
23Visually review the completed underside; using a slicing technique (where required), remove fine pieces of weight. Note: The suitability of this technique will depend on the individual hair type and texture. At the top of the back and side sections, lift up using a layering technique and connect if necessary; this will also depend on the individual hair type and texture.
-
 24
24View of the completed underside.
-
 25
25Take a horizontal section toward the hairline.
-
 26
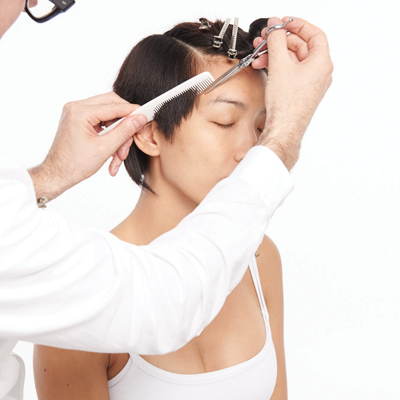
26Slightly overdirect the section back and cut a line angling toward the cheekbone. Hold hair in your fingers using medium tension. Note: The cheekbone is your visual guide.
-
 27
27Continue taking subsequent sections, elevating very slightly each time.
-
 28
28When moving closer to the front area, use less elevation and keep the line closer to the face.
-
 29
29Blow-dry the top section.
-
 30
30Gently refine the top section with a pointing technique.
-
 31
31View of the completed cut prior to the color application.
-
 32
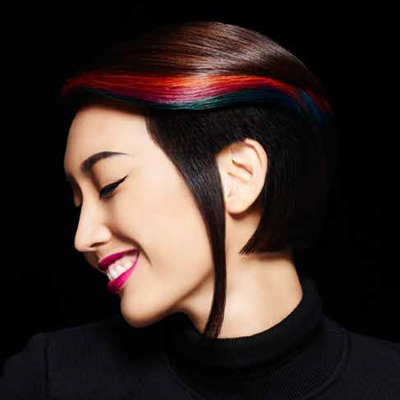
32Finished Look
More from
Joico
-
Balayage
One Step, Three-Layer Multidimensional Balayage
-
Balayage
Sunset Copper Balayage
-
Monthly Product Launch List
The Best Hair Launches Of March 2024
-
Hair Color
Blonde Life® SilverLight™ Lightening Powder
-
Bond Building
Defy Damage® IN A FLASH™
-
Da’Vine Joy Randolph’s Glamour Waves
-
Celebrity
Zendaya’s Classic Volume Bob
-
Celebrity
The Best Beauty Looks At The 2024 Oscars
-
Blonde
Building The Perfect “Summer Blonde”
-
Gray
Make Gray Hair Look & Feel Younger: 3 Tips Every Stylist Should Try
-
Haircare
KBOND20 Defy Damage Power Masque
-
BTC Events
BTC “On Tour” Nashville Recap: Everything You Missed
-
Monthly Product Launch List
The Best Hair & Beauty Launches Of November 2023
-
Haircare
Inner Joi™ Strengthen Shampoo
-
Conditioners
Inner Joi™ Strengthen Conditioner
-
Haircare
Inner Joi™ Strengthen Masque
-
Haircare
Joico Launches Vegan, Naturally-Derived Haircare Line, Inner Joi™
-
Blonde
How To Create A Natural Shadow Root Through Teasing
-
Blonde
“Fake” A Full Foil In 3 Steps: Here’s How
-
BTC Hair Trend Report
Your Guide To Fall & Winter 2023’s Hair Color Trends
-
Blonde
Honey Blonde Curls: 3 Strategic Placement Tips To Create Brightness
-
Hair Color
Bold Color Trends You Need To Know For 2024
-
BTC Events
AI, Mental Health & Social Media: 7 Business Tips You Can’t Live Without
-
Manufacturer
Joico Announces Jeannetta Walker-Rodgers as Global Technical Director
YOU MIGHT LIKE THIS
-
Hair Color

Color Block Pixie
-
Hair
Sanrizz “Sarah” Step-by-Step
-
Bobs
Graduated Modern Bob from TONI&GUY
-
Hair
Graham Webb “Modern Box Bob” by Nick Arrojo
-
Bobs
Cropped Bob with Square Fringe by Damien Carney for Joico
TRENDING NOW!
-
Curly
Long Layers: 10 Pro Tips + Common Cutting Mistakes
-
BTC Hair Trend Report
The Biggest Haircut Trends of 2024
-
Copper
What Is The "Cowboy Copper" Hair Trend? Here's What It Really Means...
-
Haircuts
SHAG 101: The Dos And Don'ts
-
Bobs
The '90s Bob: How To Cut & Style This Trending Haircut
-
BTC Hair Trend Report
Quiet Luxury Blonde: The "Old Money" Trend Explained
-
Blonde
Dear Clients, Read This Before Going Blonde!
-
Balayage
How To Turn A Brassy Lift Into A Brunette Balayage

