
How-To: Strength For Skinny Strands
How-To: Strength For Skinny Strands
HOW-TO STEPS 
-

 1
1 -
 2
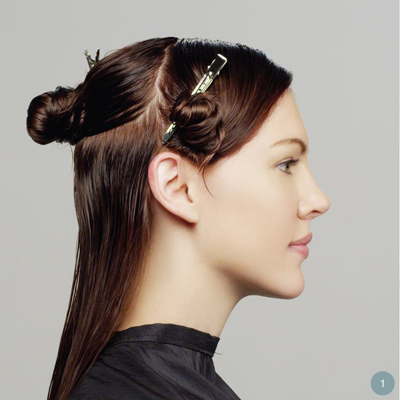
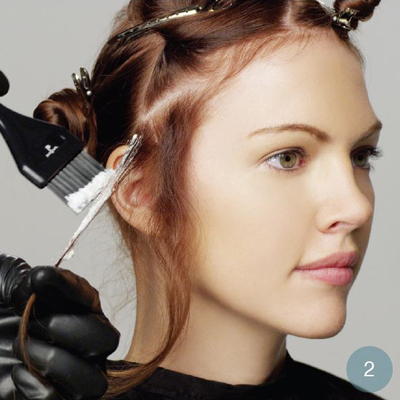
2Section across the top crown from ear to ear, then create a side part. Subsection the back slightly above the occipital.
-
 3
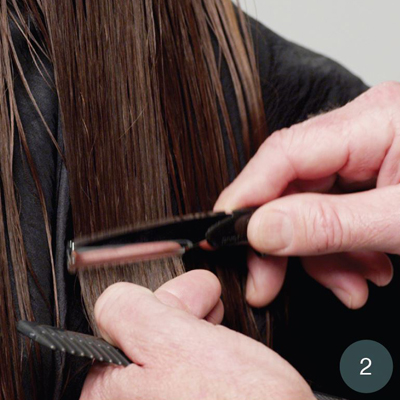
3Begin by establishing length in the center back, using a razor with slight tension and no elevation. Use your established guide and continue through Section 1, creating a strong, clean, symmetrical line.
Release Section 2 (from occipital to crown) and comb smooth. Use Section 1 as a guide and complete a one-length symmetrical line.
Note: To create the clean symmetrical line, drop and connect each front side using the natural part and the established guideline.
-
 4
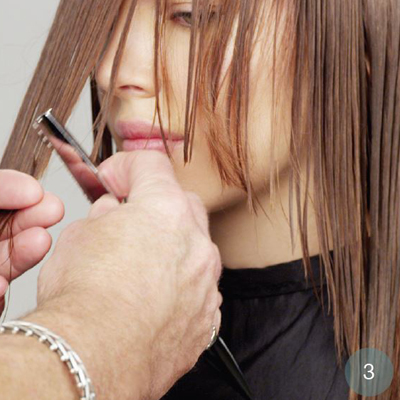
4Determine the longest point for the front sides. Create a V-shaped section about 1 to 1½ inches off of the established side part. Then determine the shortest point, which will be the peak of the V. Holding the hair flat, cut from the desired shortest point down to the longest point. Repeat on the other side. To cross-check, switch the side part to the opposite side of the head and cut any longer pieces.
-
 5
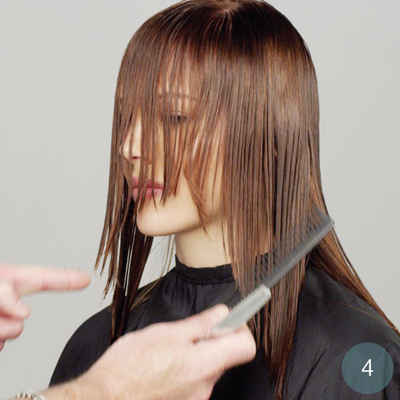
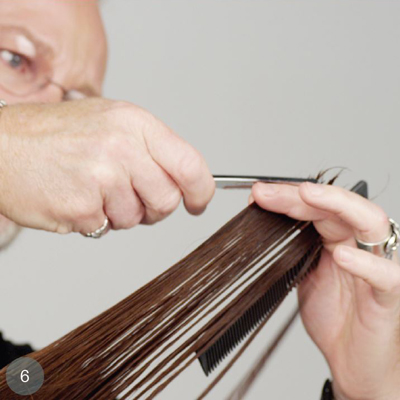
5Check the new exterior for weight distribution and balance.
-
 6
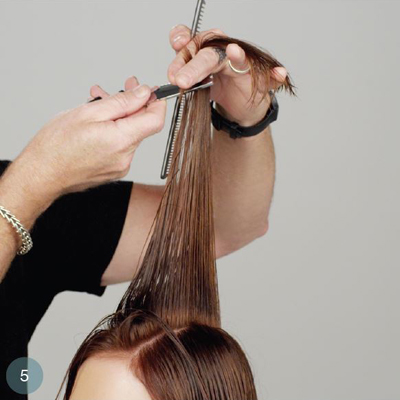
6Create the top section from the front hairline using a center part. Use the shortest piece of fringe as your guide for length in the interior. Begin cutting at the front hairline at a steep angle toward the crown, then down from the crown to the center back hairline, allowing the perimeter to drop out and keep its strength.
-
 7
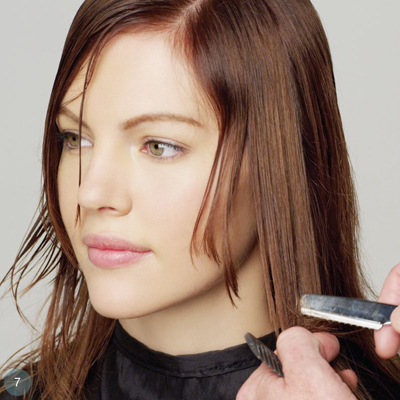
7Using Section 5 as your interior guide, take vertical sections and cut from interior to exterior with a traveling guide. If you are right-handed, stand on the right of your traveling guide, and if you are left-handed, stand on the left.
Note: For finer hair, you can use the vertical guide behind the ear as a stationary vertical guide for all hair in front of the ear.
-
 8
8Using slight tension and the tip of a razor, work from the front to behind the ear on both sides to create face-framing pieces. Take vertical slices in a diagonal forward motion to distribute weight and personalize.
-
 9
9This model began at a Level 5 and was hand-painted to a Level 8. Use two tones to offer dimensional texture. Use your preferred color brands, lightener and formulas. In this look, the two shades were:
- Level 7 Copper Red
- Level 8 Copper Gold
To start, create a triangle parting at the front slope of the apex to the recession on each side. Connect each remaining side behind the ear. Create a U-shaped section on the parietal to the crown, resembling a horseshoe.
Divide the back into four zones—two zones above the occipital and two zones below the occipital.
-
 10
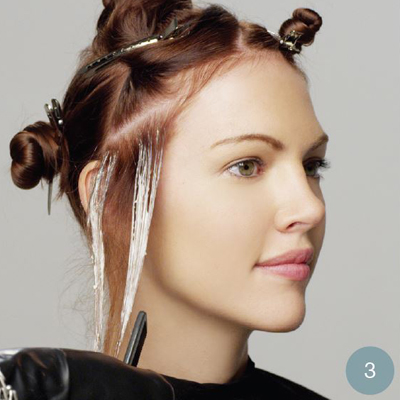
10Create a diagonal back 1-inch parting angled toward the face. Take a ½-inch section and hand-paint the surface with your lightener vertically toward the scalp, then the length, using tension and overdirection.
Note: Hand-painting should be customized for each individual client and haircut.
-
 11
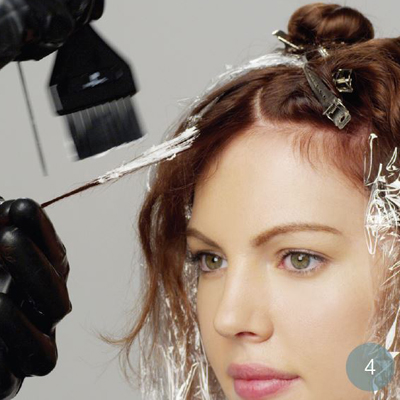
11Paint each side of the section first in a smooth motion, creating a V, then fully saturate the ends and diffuse the line up toward the scalp. You can use a paddle, board, spatula or the back of your hand to ensure full saturation.
Create another diagonal back section. Take a ½-inch section in the center and hand-paint lightener, then diffuse scalp to ends. Continue this rotation on both front sides.
See John demonstrate the technique:
-
 12
12Release a V-shaped section in the fringe area and divide it into three diagonal zones. Hand-paint lightener to diffuse the outside face-framing pieces. Continue through all three sections.
-
 13
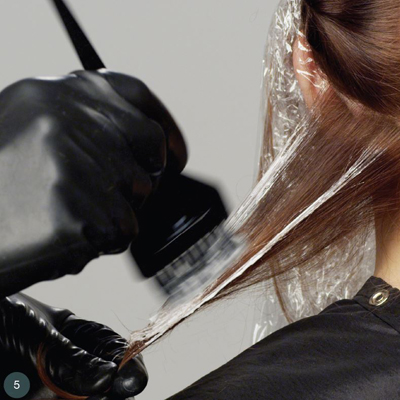
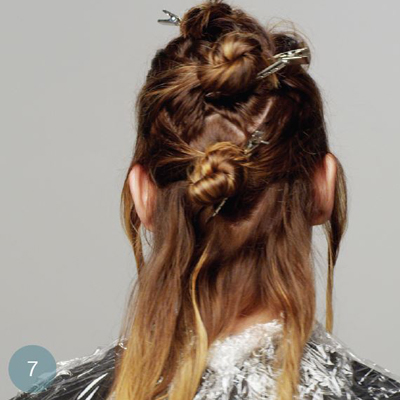
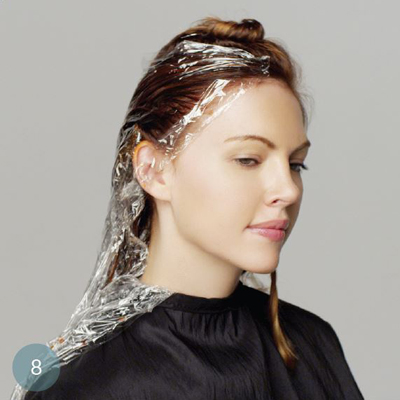
13Customize the rotation of the surface to full saturation, then fully saturate single strands throughout the four sections. Use tension and overdirection with the diagonal sections. Isolate with plastic film.
Note: Plastic film allows a visual guide for color application and acts as a moderate heat source.
-
 14
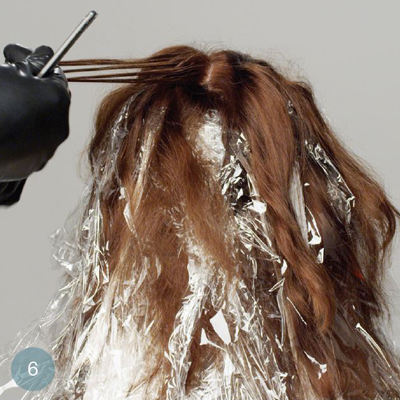
14Split the crown into five zones. On the top of each section, macro-weave, then hand-paint with lightener, fully saturating from scalp to ends.
-
 15
15Lift the hair to desired level. Rinse, shampoo and condition with ReGenesis Thickening Shampoo and Conditioner.
-
 16
16Create a deep zigzag section around the high and low points and the hairline and part line. Begin in the nape with your Level 7 Copper Red, and apply from scalp to ends. Isolate with plastic film. In the midzone, apply the Level 8 Copper Gold from scalp to ends. Isolate in plastic film. Continue this rotation through the remaining zones to the part line.
Process according to the color manufacturer’s instructions. Rinse, shampoo and condition if needed with ReGenesis Thickening Shampoo and Conditioner.
-
 17
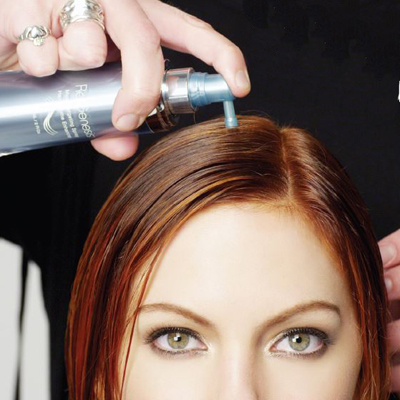
17Apply ReGenesis Micro Targeting Spray in two pump strokes to the hair. Then style as desired.
-
 18
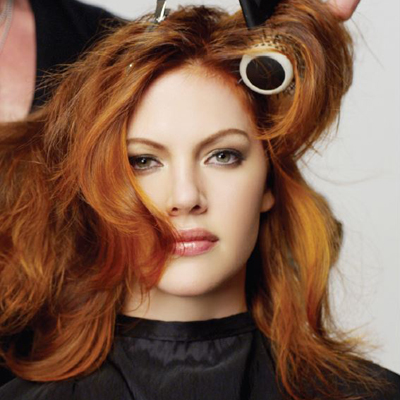
18To achieve inner texture, lift and dry at the root, then use a 1-inch round brush to create horizontal lift and volume in sections around the head.
-
 19
19 -
 20
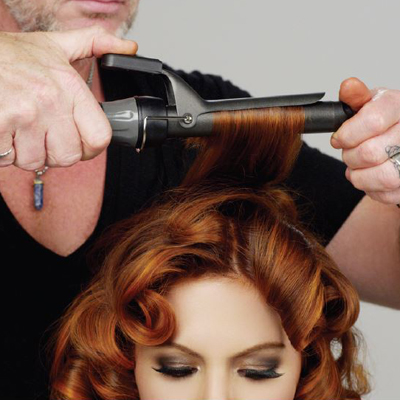
20To achieve a soft, voluminous curl, use a 1-inch clip iron and a large zigzag parting, curling on base for maximum volume.
-
 21
21
YOU MIGHT LIKE THIS
-
Styling
Big Hair for Fine Hair!
-
Styling
Pump Up the Volume!
-
Hair
Styling Tips for Fine, Thinning Hair
-
Styling
How-To: Perfect Second-Day Hair
-
Balayage
Hair Painting With Extensions
TRENDING NOW!
-
BTC Hair Trend Report
The Biggest Haircut Trends of 2024
-
Copper
What Is The "Cowboy Copper" Hair Trend? Here's What It Really Means...
-
Bobs
How to Avoid a Bulky Bob: 4 Techniques To Try
-
Hair Color
WWYD: How To Stop Your 6N From Turning Orange
-
Uncategorized
TikTok's Viral "Scandinavian Hairline" Is Actually Not New...
-
Celebrity
10 BIPOC Celebrity Hairstylists Who Are Making Major Waves In The Industry Right Now
-
Glossing/ Toning
How To Achieve "Glass Hair": Smart Hacks From Hairdressers
-
Curly
Long Layers: 10 Pro Tips + Common Cutting Mistakes

