
Rope-Braided Mohawk

Advertisement
Advertisement
Rope-Braided Mohawk
Products Used
HOW-TO STEPS 
-
 1
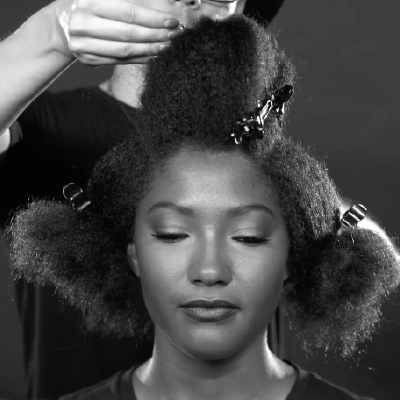
1Section out a Mohawk segment along the parietal ridge. Start at both recession points of the hairline, widen at the top of the head, then narrow at the nape (slightly off-center).
-
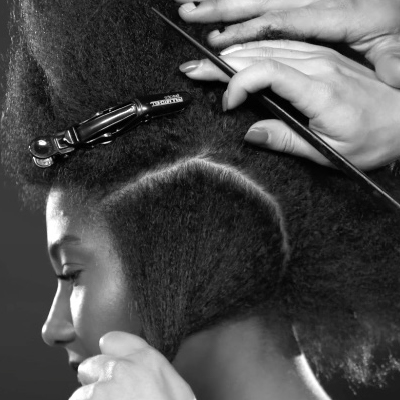 2
2Split the sides in half, following the curvature of the Mohawk.
-
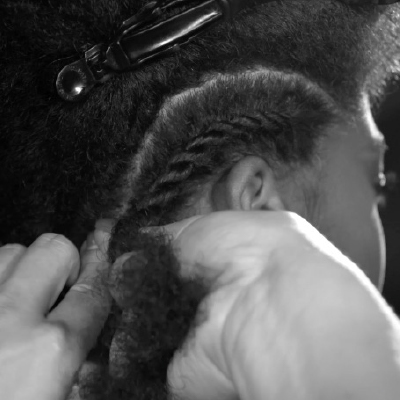 3
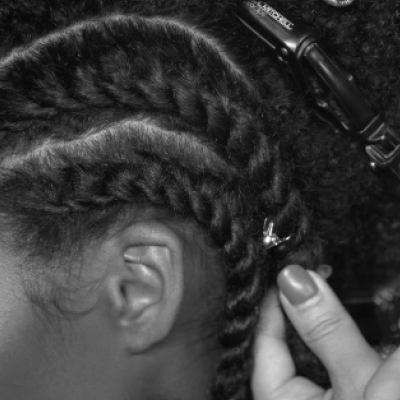
3Apply Paul Mitchell Neon Sugar Cream for control and start a two-strand rope braid at the base on the bottom right side. Continue to braid 1 inch past the base in the back. Make sure to keep a few loose ends before securing the braid with an elastic band.
-
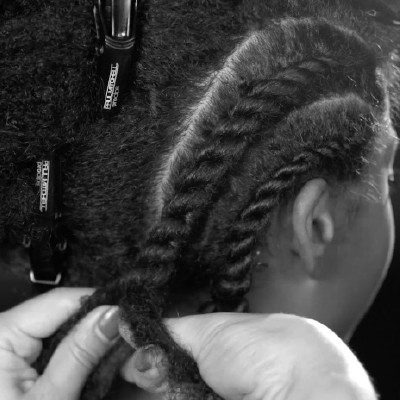 4
4On the same side, start a new two-strand rope braid in the section above. Make sure to follow the curvature of the previous braid and apply Paul Mitchell Neon Sugar Cream as you go along for added control. Leave a few loose ends for texture and secure the braid with an elastic band.
-
 5
5Continue to the opposite side and start with the bottom braid, then the top, replicating the previous side.
-
 6
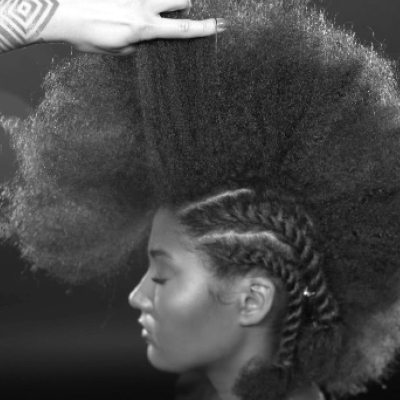
6Move to the Mohawk segment and start to stretch the hair vertically. Mist Paul Mitchell Neon Sugar Confection as you go to create elasticity and control loose strands.
-
 7
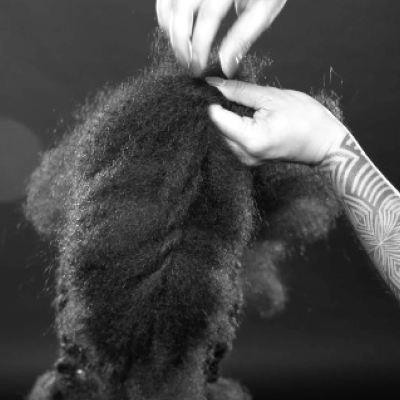
7Starting in the back, create a large two-strand rope braid with the last 1 to 2 inches of the ends. Continue this until you reach the front, leaving the ends loose at the very front. Apply Paul Mitchell Neon Sugar Cream to your fingers as your maneuver through the braid.
-
 8
8Secure the ends at the front with an elastic band and pin them to the left temple. Expand these for an airy look and feel.
-
 9
9Lift the back of the Mohawk to secure the two top side braids together with a bobby pin. Secure the bottom two side braids together, expanding the ends that were left out to create seamless texture in the Mohawk.
-
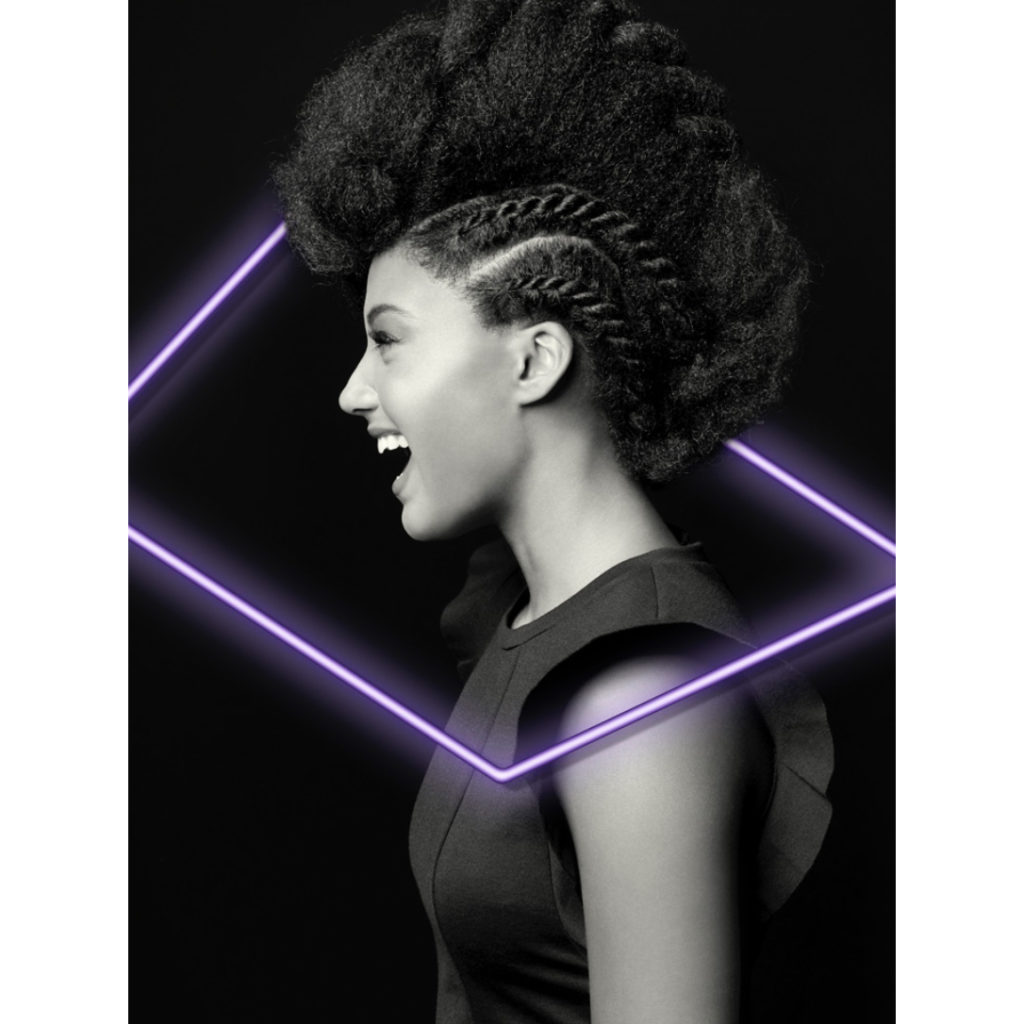 10
10Finished look.
More from
Noogie Thai
-
Manufacturer
John Paul Mitchell Systems® Launches New Pro Rewards Program
-
Bridal
CFDA Vogue Fashion Fund 2019: Get The Looks
-
#thebtcshow 2019
#THEBTCSHOW 2019: Day 1
-
#thebtcshow 2019
John Paul Mitchell Systems at #THEBTCSHOW2019
-
Blowouts
Watch: Bombshell Blowout Tutorial
-
Business
4 Ways To Photograph Hair Using A Ring Light
-
#THEBTCSHOW 2018
Improve Guests’ Experience With These 6 Tips
-
Balayage
THE BTC SHOW 2018: DAY 2
-
#THEBTCSHOW 2018
John Paul Mitchell Systems at #THEBTCSHOW 2018
-
Styling
Refined Vintage Waves
-
BTC COLOR, Cut & Style Show
COLOR, Cut & Style 2016
-
Hair
Origami: The Art of Hair
YOU MIGHT LIKE THIS
-
Hair
Styling Tips for Fine, Thinning Hair
-
Tools
Bio Ionic® StyleWinder™ Rotating Styling Iron How-To
-
Hair
Rene Furterer Styling How-Tos with Creighton Bowman
-
Hair
Blonde Pixie Styling How-To by Rodney Cutler for ULTA
-
Hair
Alterna Bamboo Kendi Pure Treatment Oil Styling How-To
TRENDING NOW!
-
BTC Hair Trend Report
The Biggest Haircut Trends of 2024
-
Copper
What Is The "Cowboy Copper" Hair Trend? Here's What It Really Means...
-
Uncategorized
TikTok's Viral "Scandinavian Hairline" Is Actually Not New...
-
Business
3 Reasons Why Today's Highlights Are So Expensive
-
BTC Hair Trend Report
Quiet Luxury Blonde: The "Old Money" Trend Explained
-
Blonde
Toning: 5 Fast Purple Shampoo Ideas For Blondes, Silver & Gray
-
Blonde
3 Purple Toning Tips For Clear, Bright Blondes
-
Bobs
How to Avoid a Bulky Bob: 4 Techniques To Try

