
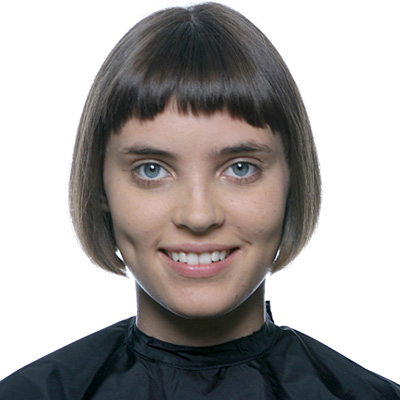
Aveda “Alison” Color Step-by-Step

Advertisement
Advertisement
Advertisement
Advertisement
Aveda “Alison” Color Step-by-Step
HOW-TO STEPS 
-
 1
1Color Formulas: Full Spectrum™ Protective Permanent Creme Hair Color
Custom Formula #1: 40g 4Natural Light Brown + 3g Dark Red/Red Pure Tone + 3g Dark Yellow/Orange Pure Tone + 10 Volume Color Catalyst™ Creme Developer
Custom Formula #2: 40g Dark Pure Base + 10g Dark Red/Orange Pure Tone + 30 Volume Color Catalyst™ Creme Developer
Custom Formula #3: 40g 9Natural Very Light Blonde + 6g Light Violet/Blue Pure Tone + 40 Volume Color Catalyst™ Creme Developer
-
 2
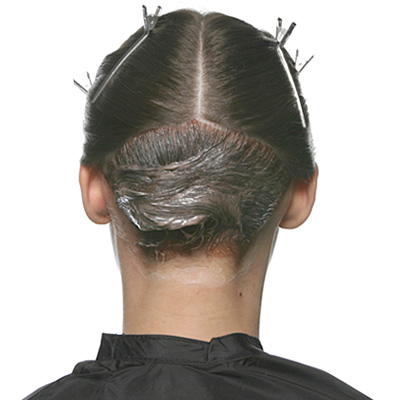
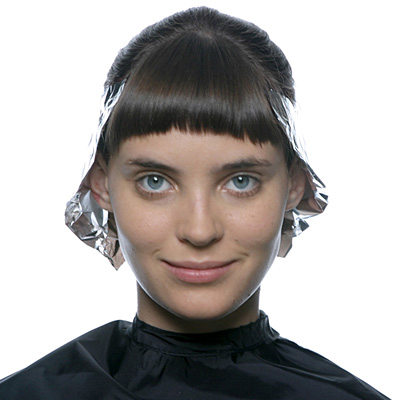
2Beginning at the left side of the head behind the ear, create a curved section across the top of the occipital bine following the shape of the head.
-
 3
3Apply Custom Formula #1 on section from scalp to ends. Isolate with foils.
-
 4
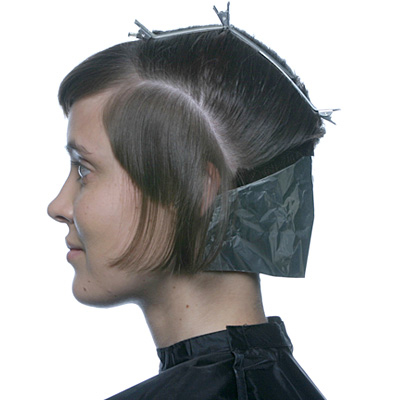
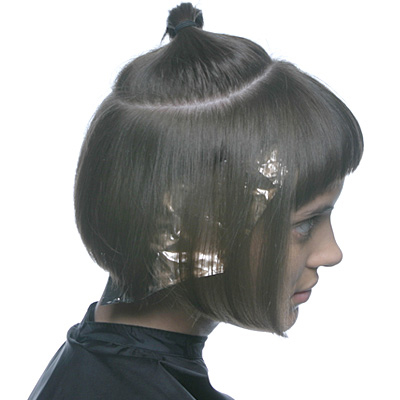
4Create a curved section from behind the ear to the front hairline.
-
 5
5Apply Custom Formula #1 to entire section from scalp to ends. Isolate with foil.
-
 6
6Repeat steps 4 and 5 on right side. Omit fringe.
-
 7
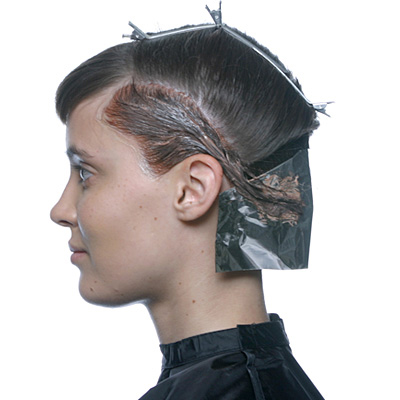
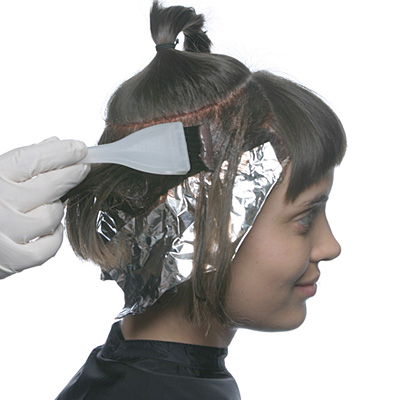
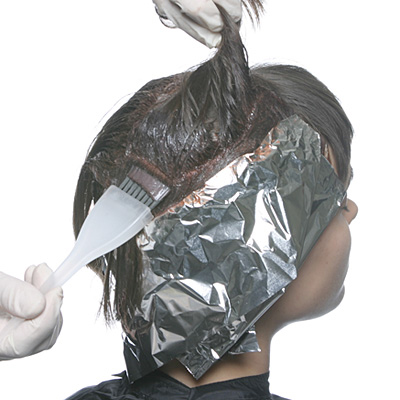
7Create circular section around top of head, working with shape and movement within the hair cut.
-
 8
8Apply Custom Formula #1 along entire circle from scalp to mid-lengths, varying application ¼ inch to 1 inch from scalp.
-
 9
9Melt Custom Formula #@ from mid-lengths to ends. Isolate with foil.
-
 10
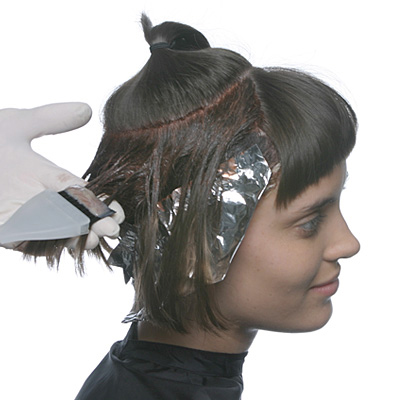
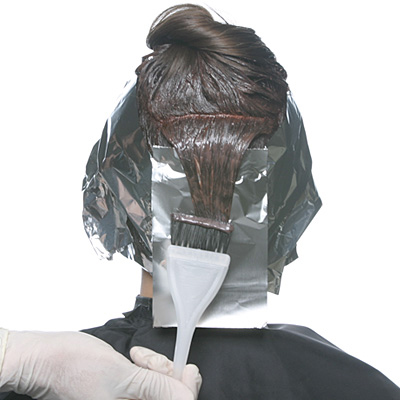
10Release circular section of hair. Working in horizontal sections, apply Custom Formaula #1 to new growth, varying 1 inch to 1½ inches from scalp.
-
 11
11Take a horizontal section through bottom of circle. Melt Custom Formula #1 through mid-lengths and ends of this section. Isolate with foil.
-
 12
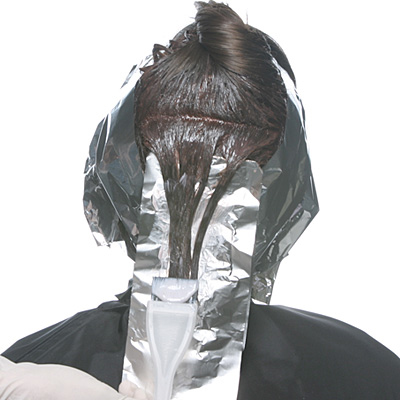
12Take next horizontal slice and melt Custom Formula #3 into mid-lengths and ends. Continue working up circle, alternating Formaulas #1 and #3.
-
 13
13Take a curved section through fringe, just behind hairline. Apply Custom Formula #1 to entire section.
-
 14
14Take a second section through fringe, melt Custom Formula #1 at scalp and Custom Formula #2 at ends.
-
 15
15On third section of fringe, melt Custom Formula #1 to new growth and Custom Formula #3 to mid-lengths and ends.
-
 16
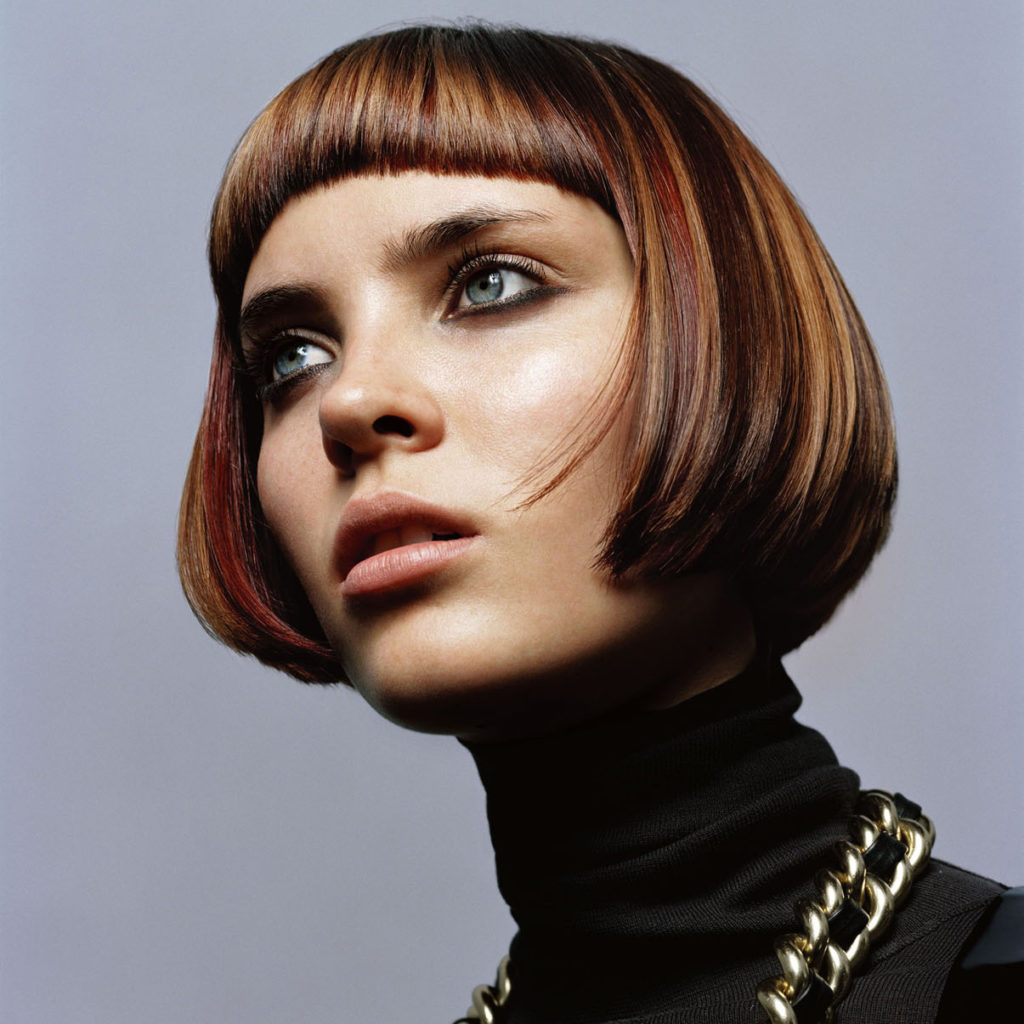
16Completed color application.
-
 17
17
YOU MIGHT LIKE THIS
-
Brunette

How-To: Metallic Lilac
-
Hair
New Romantic Cut from Aveda
-
Bobs
Symmetrical Bob with a Fringe from Aveda
-
Natural Glow Makeup at Novis by Aveda
-
Curly
Timbered Waves from Aveda
TRENDING NOW!
-
BTC Hair Trend Report
The Biggest Haircut Trends of 2024
-
Copper
What Is The "Cowboy Copper" Hair Trend? Here's What It Really Means...
-
Curly
Long Layers: 10 Pro Tips + Common Cutting Mistakes
-
Blowouts
Bombshell Blowouts: 4 Ways To Create Lift With Longevity
-
Frizz
Straighten & Smooth 2A, Fine-Medium Density Hair
-
Ask A BTC Expert
5 Foil Tips & Tricks From @the.blonde.chronicles
-
Copper
Muted Bronze
-
Haircuts
SHAG 101: The Dos And Don'ts

