
Sanrizz “Sarah” Step-by-Step

Advertisement
Advertisement
Sanrizz “Sarah” Step-by-Step
HOW-TO STEPS 
-
 1
1 -
 2
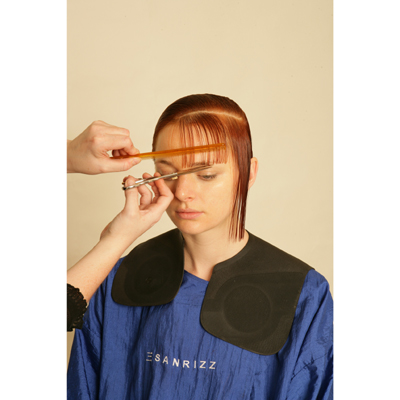
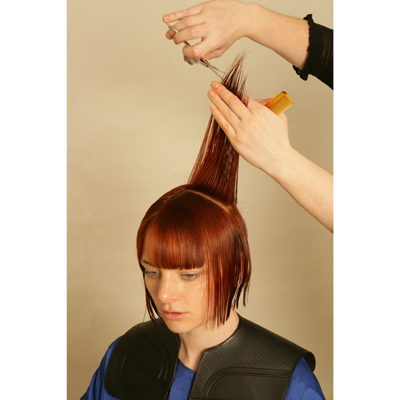
2Step 1. To produce the shape through the front comb the hair down and cut your line through your comb.
-
 3
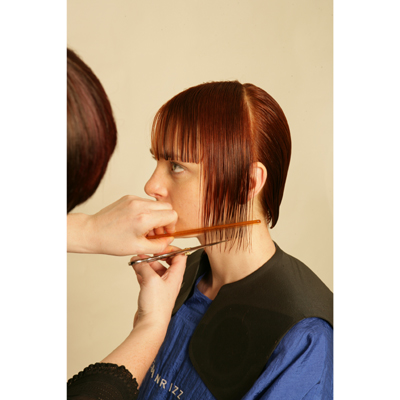
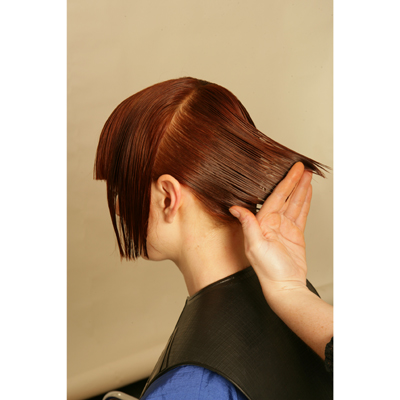
3Step 2. Move in to the sides and create your base line making sure you keep the hair in its natural fall.
-
 4
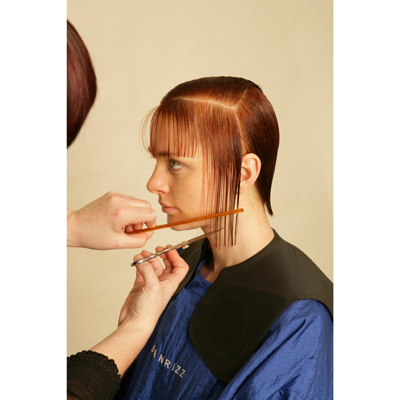
4Step 3. Working towards your parting drawing all hair down towards your guide. (Note it is important to minimize tension around the ear).
-
 5
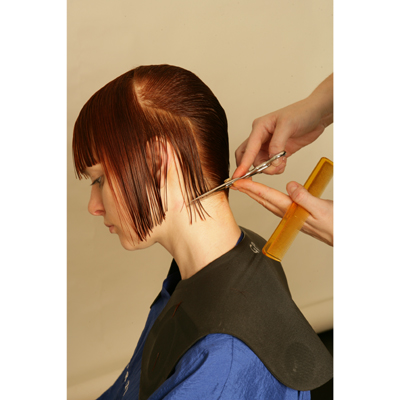
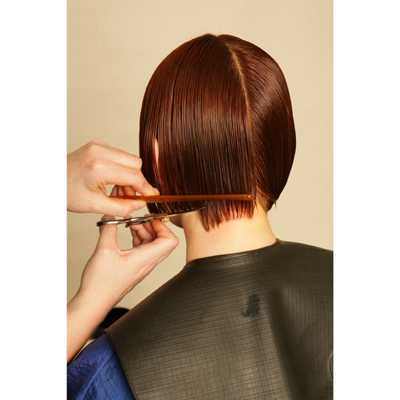
5Step 4. Now that the side base line is completed move in to the back taking a diagonal section from the breaking point towards centre back. Use the side as a guide and produce the base line in the back.
-
 6
6Step 5. Continue working with diagonal sections to the crown. Drawing the hair to the first section cut under your comb to create a strong base line.
-
 7
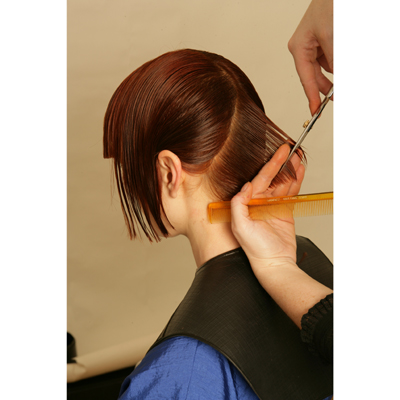
7Step 6. Once your base is completed start your graduation. From center back create your angle working with low-level graduation.
-
 8
8Step 7. Continue working diagonally over-directing back towards your first section. It is important to retain weight in the base.
-
 9
9Step 8. Take a diagonal section across the head at the crown and create your shape. Control precision in your cutting.
-
 10
10For more information please visit www.sanrizz.com
-

YOU MIGHT LIKE THIS
-
Hair
Asymmetrical Double Cut from Sanrizz Fusion
-
Intl. Looks
Sanrizz “Paula” Step-by-Step
-
Hair
The Quiff – A Men’s Cut by Sanrizz
-
Hair
Sanrizz International “Paulina” How-To
-
Haircuts
Long-Layered Cut
TRENDING NOW!
-
BTC Hair Trend Report
The Biggest Haircut Trends of 2024
-
Blonde
Conditioner Before Toner: Common Hair Myth Debunked
-
Monthly Product Launch List
11 New Game-Changing Hair Launches To Add To Your Arsenal
-
Copper
What Is The "Cowboy Copper" Hair Trend? Here's What It Really Means...
-
Copper
Muted Bronze
-
Haircuts
SHAG 101: The Dos And Don'ts
-
Frizz
Straighten & Smooth 2A, Fine-Medium Density Hair
-
BTC Hair Trend Report
WWYD: How Hairstylists Are Navigating Inflation

