
Retro Glam Updo from Project Runway’s Fallene Wells

Advertisement
Advertisement
Retro Glam Updo from Project Runway’s Fallene Wells
HOW-TO STEPS 
-
 1
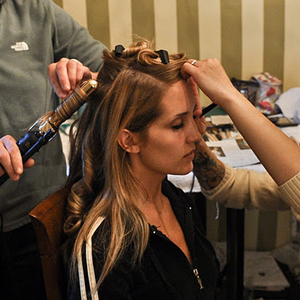
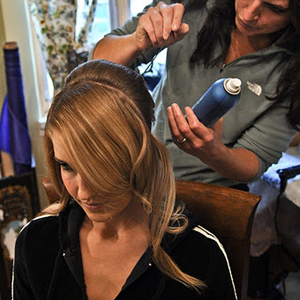
11.) Section hair with an ear-to-ear radial. Clip up the top half.
2.) With a 1″ curling iron, curl all hair in the bottom portion in 1 1/2″ sections. -
 2
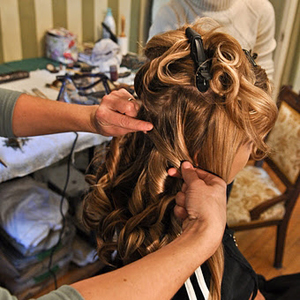
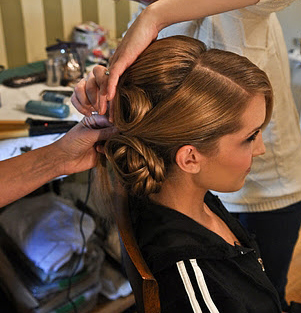
2In the bottom section, you’ll clip up 3/4 of the hair, mostly from the center. You should have hair free on both sides of the head, by the ears.
Now, you’ll create an anchor for your design. To do this, bring the two free side sections together, cross them and pin in place. Leave a 3-inch panel by the right ear free.
-
 3
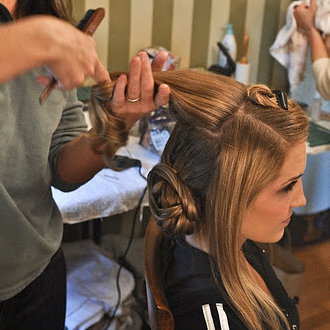
3Start to pin the curls up and around the base, making sure the curls are as free of flyaways as possible and gathered in a smooth direction.
-
 4
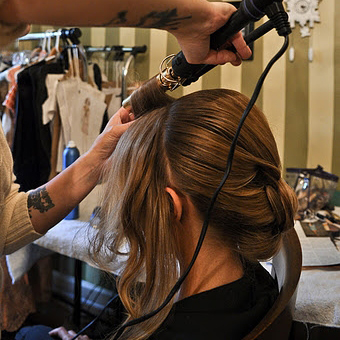
4Unpin the top half of the back section. Backcomb for volume and smooth out the top with a small boar bristle brush. Curl the ends of the section in the same direction as the other curls.
-
 5
5Wrap the curl around your thumb and pull through. This is an easy way to create a quite large pin curl-like bun. Secure with pins around the edges.
-
 6
6Smooth out any flyaways with a rat tail comb.
-
 7
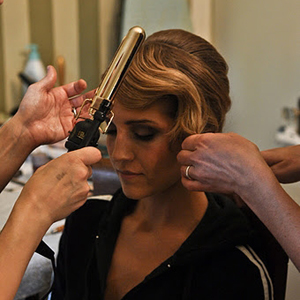
7Return to the front right section. Curl the ends in the same direction and wrap the section around the lower portion of the design. Again, make sure the section is smooth and blends into the bottom bun, and secure.
-
 8
8For the final section (front left), you’ll use the same curling iron and work in horizontal sections. Start with a curl on base, down toward the ear, then alternate until section is complete.
Note: Pin each curl in place to help set and mold curl pattern.
-
 9
9Brush out curls with small boar bristle brush; continue until an S-shape starts to form. Pin finger wave shape in place, bringing the ends into the back design. Pin into place and secure with spray.
Note: If there are any visible lines showing from the iron, simply run the hot iron over the crease and voila–it’s gone!
-
 10
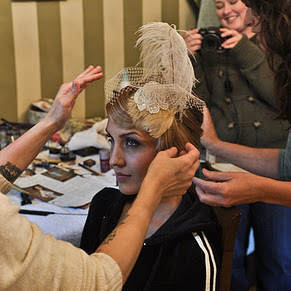
10Optional: Add a fun hairpiece to enhance the retro vibe.
-
 11
11A view from the front! You can really see how the S-shape flows beside her face.
-
 12
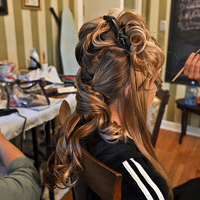
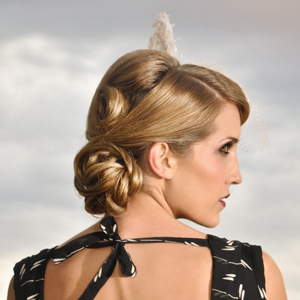
12A view of the completed design in the back. A show-stopper for sure!
Want more? Check out this smokey eye make-up tutorial from Fallene Wells!
YOU MIGHT LIKE THIS
-
Smokey Eye Make-Up Tutorial from Project Runway’s Fallene Wells
-
Hair
Scarlett Johansson’s ’50s Inspired Updo by Sebastian’s Duffy
-
Hair
Suki Duggan Recreates Sarah Jessica Parker’s Retro Updo
-
Hair
Bridal Beehive Bun from Orlando Pita
-
Hair
Retro Roll from invisibobble
TRENDING NOW!
-
Hair Color
WWYD: How To Stop Your 6N From Turning Orange
-
BTC Hair Trend Report
The Biggest Haircut Trends of 2024
-
Bobs
How to Avoid a Bulky Bob: 4 Techniques To Try
-
Glossing/ Toning
How To Achieve "Glass Hair": Smart Hacks From Hairdressers
-
Copper
What Is The "Cowboy Copper" Hair Trend? Here's What It Really Means...
-
Celebrity
10 BIPOC Celebrity Hairstylists Who Are Making Major Waves In The Industry Right Now
-
Curly
Long Layers: 10 Pro Tips + Common Cutting Mistakes
-
BTC Hair Trend Report
WWYD: How Hairstylists Are Navigating Inflation

