
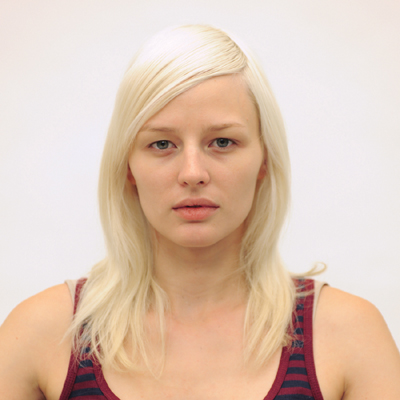
Platinum Fringe From TONI&GUY

Advertisement
Advertisement
Platinum Fringe From TONI&GUY
HOW-TO STEPS 
-
 1
1 -
 2
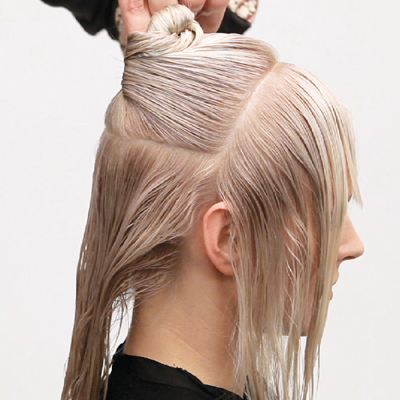
2Take a diagonal back parting 2″ in from the front hairline to the top of each ear.
Take a horizontal parting at the top of the occipital and isolate the hair underneath it. -
 3
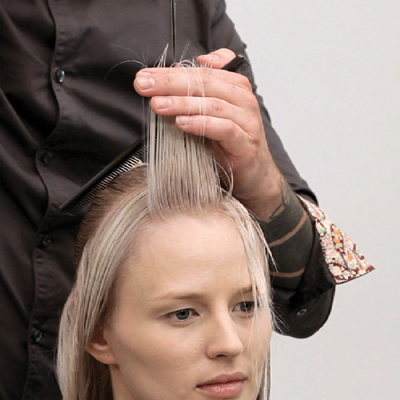
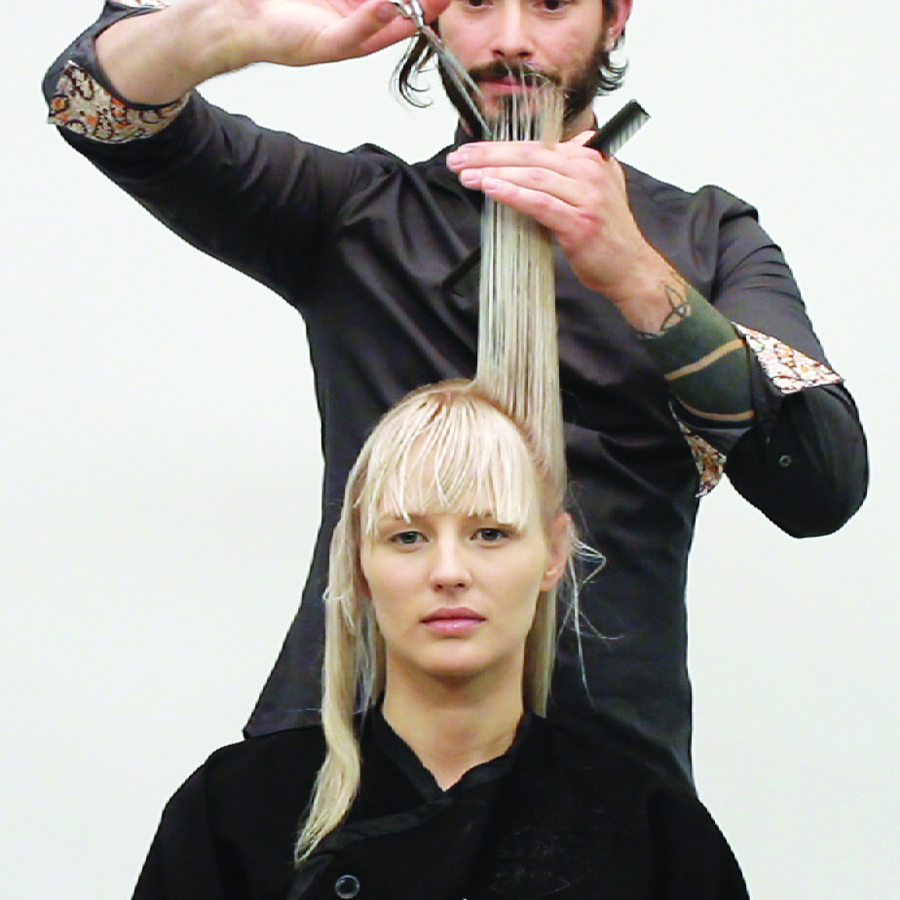
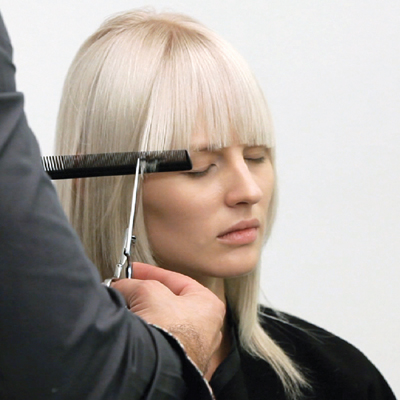
3Separate the fringe with a triangular section at the recession area, comb to 90° and point cut square.
-
 4
4Cross check at natural fall, creating a rounded line.
-
 5
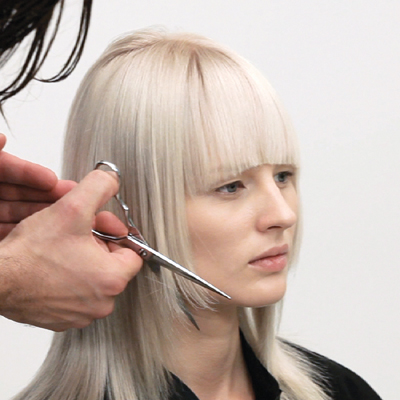
5With the remaining hair in the section, use the cheekbone to measure a
guide to length, elevate to 90° and cut square. -
 6
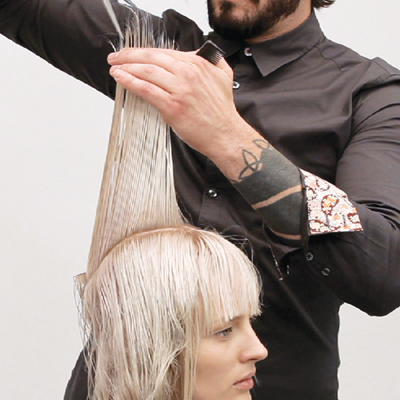
6Continue with a pivoting diagonal back section, comb to 90° and cut square following the guide. Work pivoting diagonal back sections and repeat the technique until reaching to the profile parting. Repeat this technique on the opposite side.
-
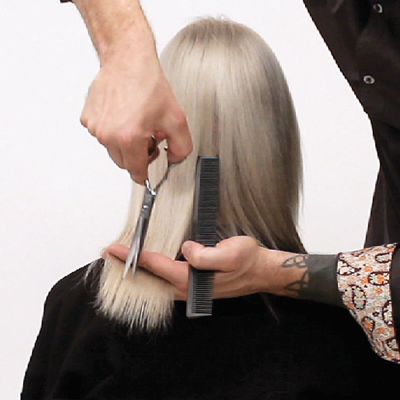
 7
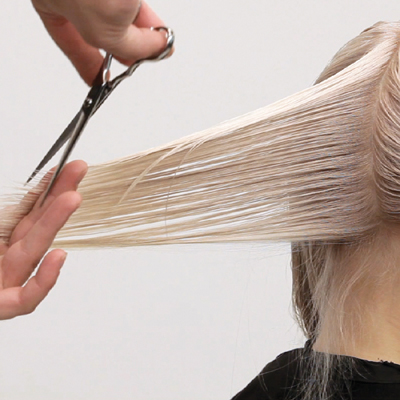
7To blend the underneath, take a center vertical section, comb to 90° and slide cut out to blend with the existing perimeter. Continue with a pivoting section, comb to 90°, over direct to the previous section and slide cut to blend. Repeat this technique until all the remaining lengths have been blended.
-
 8
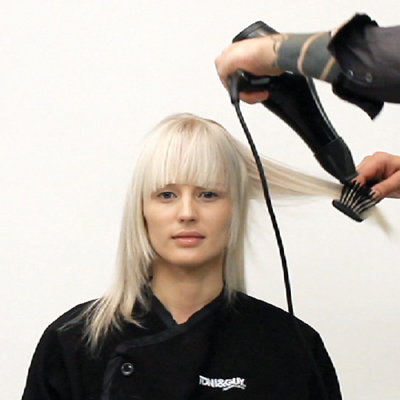
8Blow dry with a flat brush, then detail with a large round brush.
-
 9
9To detail the perimeter, comb to natural fall and slice into the length to emphasize a soft textured line
-
 10
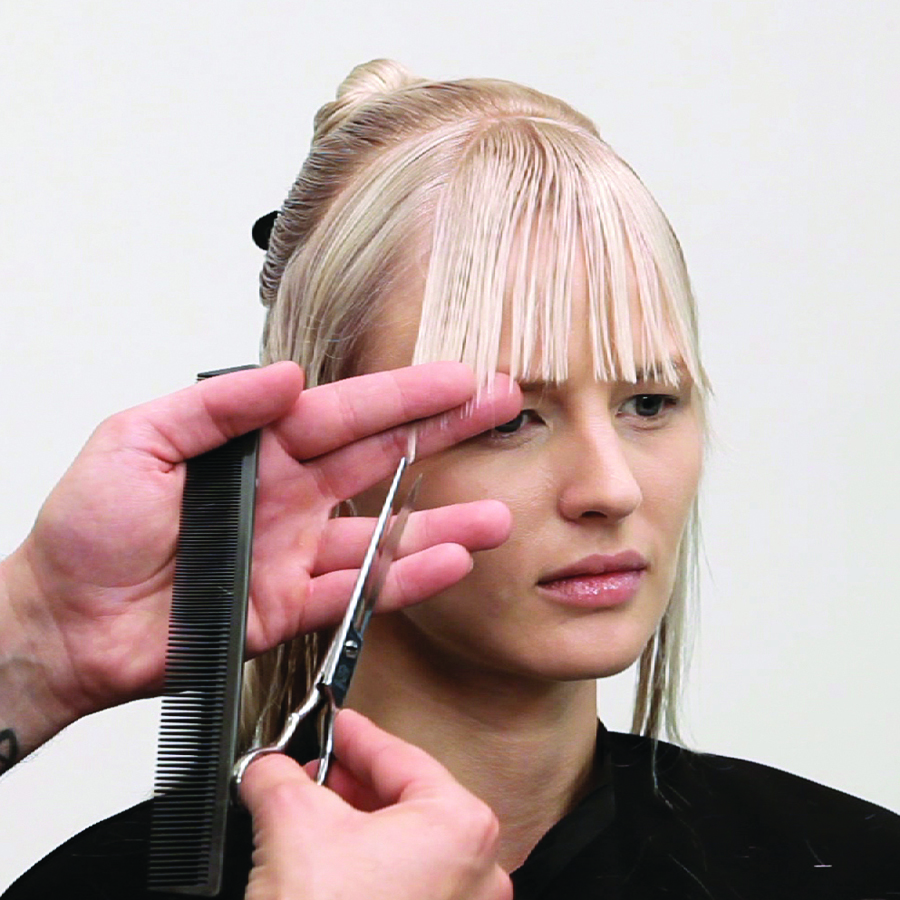
10The fringe is personalized with point cutting.
-
 11
11The sides are detailed with channel cutting. The interior is reworked with deep parallel point cutting to create more texture.
-
 12
12
More from
TONI&GUY
-
Award-Winning
Luminescent
-
Collections
Reverie
-
Award-Winning
London Hairdresser Of The Year Winning 2020 Collection
-
Manufacturer
Join TONI&GUY For A Free Hour-Long Education Experience
-
Business
Assistants & Apprentices: 5 Pieces Of Advice To Read ASAP
-
BTC "On Tour"
BTC Hosts First Ever International Show: “On Tour” London
-
BTC Events
BTC “On Tour” London
-
BTC "On Tour"
“On Tour” London Cocktail Party
-
BTC Events
BTC “ON TOUR” DALLAS
-
BTC ON TOUR
“On Tour” Dallas Cocktail Party
-
BTC Events
BTC “On Tour” Dallas Show—Here’s Everything That Happened!
-
Barbering
Low Skin Fade On Textured Hair
-
Salon Decor
TONI&GUY Galleria Salon Gets A New Look
-
Chain Salons
TONI&GUY Renovated Its NorthPark Location
-
Barbering
Our 5 Most Popular Men’s Haircuts
-
Business
TONI&GUY Debuts Á La Carte Style Menu
-
Manufacturer
TONI&GUY Announces Winners Of The 2017 Photographic Awards
-
Haircuts
10 Cuts For Every Client In Your Chair
-
Bobs
Shattered Inversion
-
Events
TONIandGUY 2016 Creative Release and Photographic Awards
-
Business
Ready To Own? Four Things You Should Know
-
Business
Ready to Open Your Own Salon? Read This First
-
Celebrity
FKA Twigs’ Quirky VMA Curls
-
Curly
Square Layers from TONI&GUY
YOU MIGHT LIKE THIS
-
Bobs
Short, Rich Caramel Bob and Fringe from TONIandGUY
-
Fringe
Modern, Chic Shag
-
Hair Color
TONIandGUY Reflective Collection Ceren Block Color Technique
-
Haircuts
Modern Rocker-Chic Shag Cut from L’ANZA Healing Haircare
-
Hair Color
TIGI Colour “Classic” Step-by-Step
TRENDING NOW!
-
BTC Hair Trend Report
The Biggest Haircut Trends of 2024
-
Blowouts
Bombshell Blowouts: 4 Ways To Create Lift With Longevity
-
Copper
What Is The "Cowboy Copper" Hair Trend? Here's What It Really Means...
-
Curly
Long Layers: 10 Pro Tips + Common Cutting Mistakes
-
Ask A BTC Expert
5 Foil Tips & Tricks From @the.blonde.chronicles
-
Frizz
Straighten & Smooth 2A, Fine-Medium Density Hair
-
Copper
Muted Bronze
-
Haircuts
SHAG 101: The Dos And Don'ts

